Popular fittings › Saddle take-off
Saddle take-off
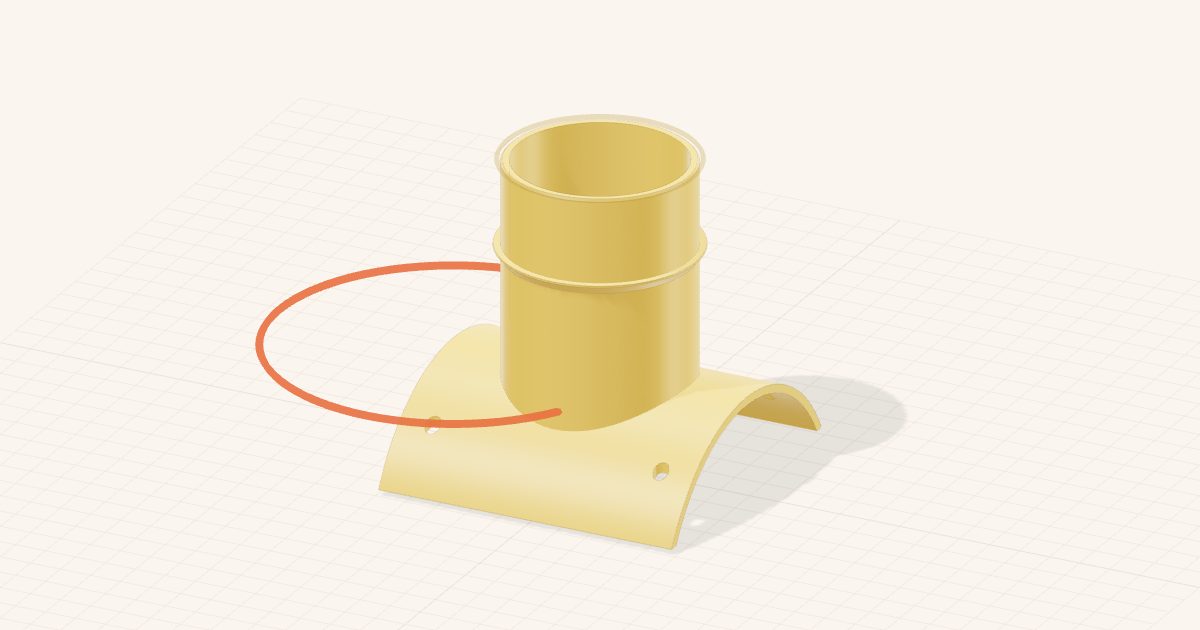
A curved saddle that seats on an existing round duct, with a hollow branch and real mounting holes.
 Open in the designer →
Opens with the sizes below. Change anything, then export 3MF, STL or STEP. Free, no account, runs in your browser.
Starting sizes
| End | Inner size | Connection |
|---|---|---|
| Existing duct | 100 mm (3.94 in) | Smooth sleeve |
| Take-off | 50 mm (1.97 in) | Smooth sleeve |
Need another size? Every dimension is editable in the designer, in millimetres or inches.
What it is
Adds a branch to an existing round duct: cut a hole, seat the curved saddle over it and fasten it through the mounting holes.
How to measure
Measure the outside diameter of the existing duct or hose; the clamps, sleeves and liners are sized from it. For each end, measure the hose, pipe or port it joins with calipers. If that part slides into the fitting, measure its outside diameter and keep “Measure by: Inner diameter”. If the fitting slides into a hose, measure the hose’s inside diameter and switch to “Outer diameter”. Measure twice across the circle; flexible hose is rarely perfectly round.
Print tips
- The export already places every component in its recommended print orientation. Keep supports off sleeves, sockets and any sliding or tight-fit surface so they stay smooth; if your slicer asks for supports, paint them only where an outside overhang needs them.
- The “To buy” list shows the purchased hardware it needs.
Frequently asked questions
- What size should I measure?
- Measure the outside diameter of the existing duct or hose; the clamps, sleeves and liners are sized from it. For each end, measure the hose, pipe or port it joins with calipers. If that part slides into the fitting, measure its outside diameter and keep “Measure by: Inner diameter”. If the fitting slides into a hose, measure the hose’s inside diameter and switch to “Outer diameter”. Measure twice across the circle; flexible hose is rarely perfectly round.
- What should I print it in?
- PLA or PETG both work for dust collection at room temperature. Print in PETG or ASA if the air is warm or the part sits in the sun. Use 3–4 perimeters for an airtight wall; infill matters much less than wall count for ducts.
- What hardware do I need to buy?
- At these starting sizes it needs: bolts or screws, washers. The “To buy” list in the designer gives the exact sizes, lengths and quantities for your dimensions.
- Does it need supports?
- The export already places every component in its recommended print orientation. Keep supports off sleeves, sockets and any sliding or tight-fit surface so they stay smooth; if your slicer asks for supports, paint them only where an outside overhang needs them.
More popular fittings
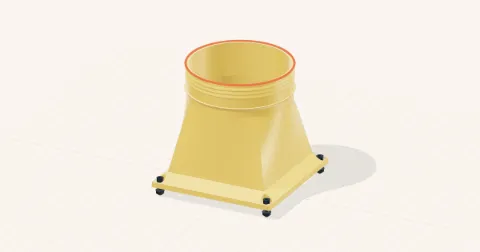 3D printer enclosure exhaust, 100 mmVent a 3D printer enclosure into 100 mm hose: a rectangular bolt-on flange that transitions to a barbed hose end. Free and adjustable.
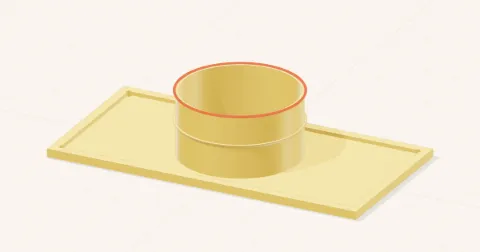 Window exhaust insertA 3D printable window insert with a 100 mm hose outlet, perimeter rim and mounting holes. Size the panel to your window.
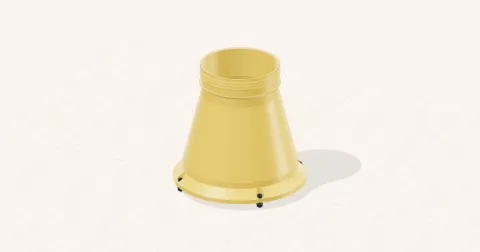 Laser cutter exhaust adapterA 3D printable laser cutter exhaust adapter: 150 mm flanged duct to 100 mm hose barb. Resize it to your machine.
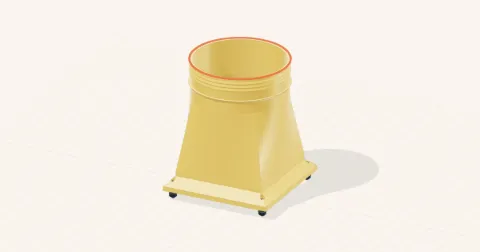 120 mm fan to 100 mm duct adapterBolt a 120 mm PC fan to 100 mm hose. 3D printable shroud with 105 mm hole spacing and a barbed hose end.
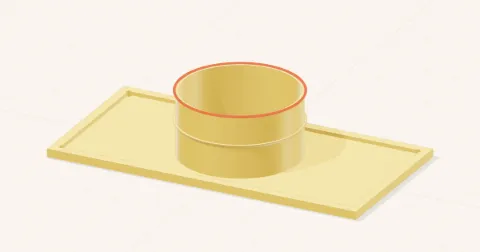 Window exhaust insertA window insert with perimeter rim, mounting holes and a hose outlet. Size the panel to your window and print it.
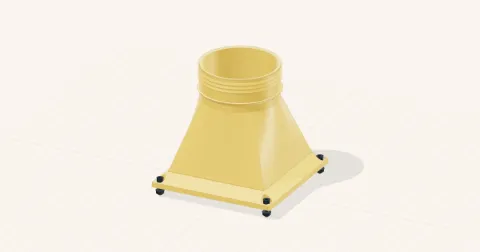 Printer enclosure ventA rectangular enclosure flange transitioning to a hose connection. Free 3D printable vent, any size.